In a running text in InDesign you could always dump any kind of vector or bitmap images. But handling these objects can be really annoying, since they cannot be edited along with the text. It’s just an object frame which flows with the text. If you want a graphic (like a logo or pictogram) to be easily usable within a text, you would have to create a font for that. But that’s not an easy task. You need to get one of those commercial font editors and deal with all those technical details and dozens of parameters that need to be set correctly in order to create a fully working font. But Theunis de Jong from The Netherlands has come up with a great solution. He created an InDesign script, which can turn any InDesign vector object instantly in a one-character font. The script doesn't come with a real manual and I struggled myself to get it working. So here is a short manual on how to use it: You can download the script free of charge here http://www.jongware.com/binaries/indyfont_demo.zip and put it in your script folder.
Now start InDesign and double-click the script in the script palette. You can specify a font name and some additional information if you wish. You can also specify a character name (like “/a” or “/zero”) which defines the slot where your vector graphic will be placed in the font. The default slot is the bullet character and you might just leave it like this. When you hit OK the script will create a new document as a template for your one-character font. Make sure you go to the second (!) page and you are working on the layer called “outline". You can now draw or import your vector drawing. It must use only the predefined color [black] as closed shapes.
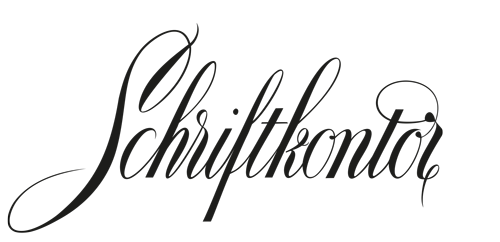
So for this logo, I punched out the white letter with the pathfinder palette. Now position the vector object on the page. The document sides are the left and right edges of the character and the red line is the base line of the font. When you’re done just double-click the script again. It will ask you where the font should be created. You can just use the default, which is the InDesign font folder. This has the advantage that you don’t even have to install the font. It will instantly be available in the font menu with an IF prefix.
That’s it! You can start using your logo font or refine it by overwriting the font again as often as you wish. Since you don’t even have to leave InDesign, it’s really easy and fun to work with this tool. The developer is also working on a commercial version which supports more than just one character, but even that free version is in my opinion a really amazing tool.




Recommended Comments
There are no comments to display.
Create an account or sign in to comment
You need to be a member in order to leave a comment
Create an account
Sign up for a new account in our community. It's easy!
Register a new accountSign in
Already have an account? Sign in here.
Sign In Now